Do you want to add some flair to your yard? Painting a fence can do that for you! A new coat of paint can transform your yard from drab to fabulous, but how can you paint a wooden fence? We’ll walk you through the steps of priming your fence and painting it using brushes or a sprayer in this post. Grab some paint and a pair of overalls, because we’re going to be redecorating!
What are the tools needed?
To paint a fence, you will need the right tools.
- You will need a small, medium, or large brush, to be specific.
- Some paint to cover the fence correctly.
- A trowel or spade to make holes in the fence for the paint to go through.
- A high pressure hose.
- You will need sandpaper & other blocks.
- Rollers covers.
- You will need drop sheets.
- You will need masking tapes.
All these things can be found at our store, you can simply get whatever the tools are required for the fence painting.
What are the safety tips to be kept in mind?
When painting your fence, follow these safety tips to ensure a safe and enjoyable job:
- Wear appropriate safety gear, including a face mask, gloves, and eye protection.
- Use proper paint and application techniques to prevent brush damage or overspray.
- Wait until the fence is completely dry before touching it.
How to paint the fence
Step 1: Check the weather forecast
When you set aside a day to paint your fence, check the weather forecast. It is critical to examine the weather forecast because if it rains while painting the fence, it might lead to a pest problem in the fence. The early to mid-Summer and Spring seasons are ideal for painting fences since lower humidity levels allow you to avoid extra wetness. Furthermore, your paint will dry swiftly and evenly. However, do not begin the fence painting project at temperatures of 30°C or higher, since severe heat and UV may cause paint cracking due to drying too rapidly.

Step 2: Thoroughly prepare the surface
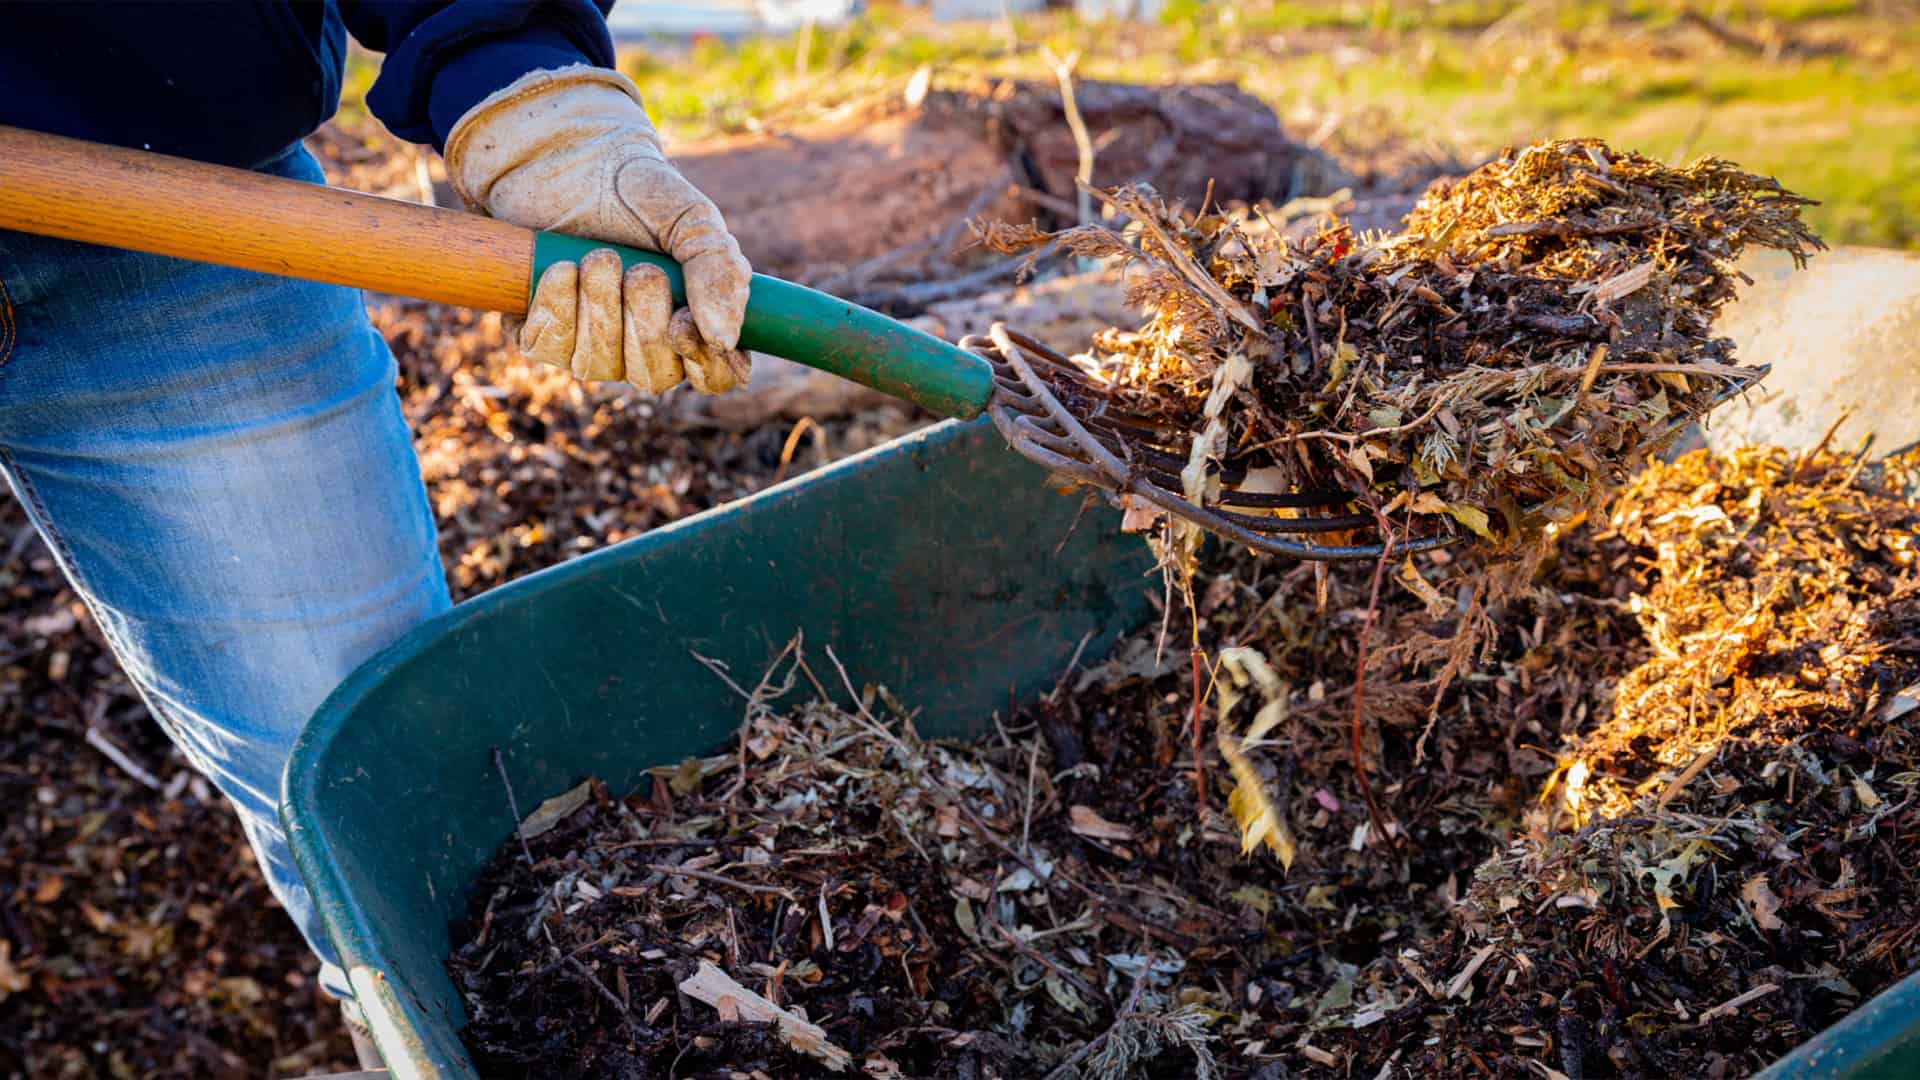
After picking the right day, prepare. We prioritize clean surfaces. Remove old nails, screws, dirt, and cobwebs from the panels and remove the grass and weeds around the fence’s base. Depending on the material, clean the fence. Before repainting a wooden fence, make sure it is dry and termite-free. After brushing away dirt, sand down damaged or peeling areas to even the surface.
Step 3: Use the appropriate tools and equipment
According to the fence material, you’ll need equipment and applicators to complete the process. If you opt to utilize power painters or sprayers, use necessary protection gear such as a mask, gloves, and adequate protective drop sheets.
To paint wood or vinyl fence panels, use rollers and paint brushes. We suggest a big 4-inch brush for coverage and a tiny 2-inch brush for trimming around the borders. Wear gloves and protect the surrounding surfaces by using drop sheets.
Step 4: Select the appropriate paint or color to use
Painting and staining are the two methods for coloring wood or vinyl fence panels. We prefer oil-based paint for painting timber fences due to its longevity. If you stain your fences, keep in mind that although the technique is more expensive, the results will endure longer and cling to the surface better than painting. Furthermore, unlike painting, staining does not need any further preparations.

Step 5: Apply a priming coat
All year long, your fence can survive both weather and environmental changes. These severe temperatures contribute to fences being more prone to corrosion and mold. That’s why a single coat of paint is never enough to preserve the fence surface, and we always suggest using a high-performance primer first.
The fence panels will build a thick, protective coating with a plastic or metal primer, making painting simpler. Paint primers can cover stains.
Many priming coatings may be needed to protect older fences. Make sure the primer is a high-performance undercoat that increases topcoat adhesion and durability.
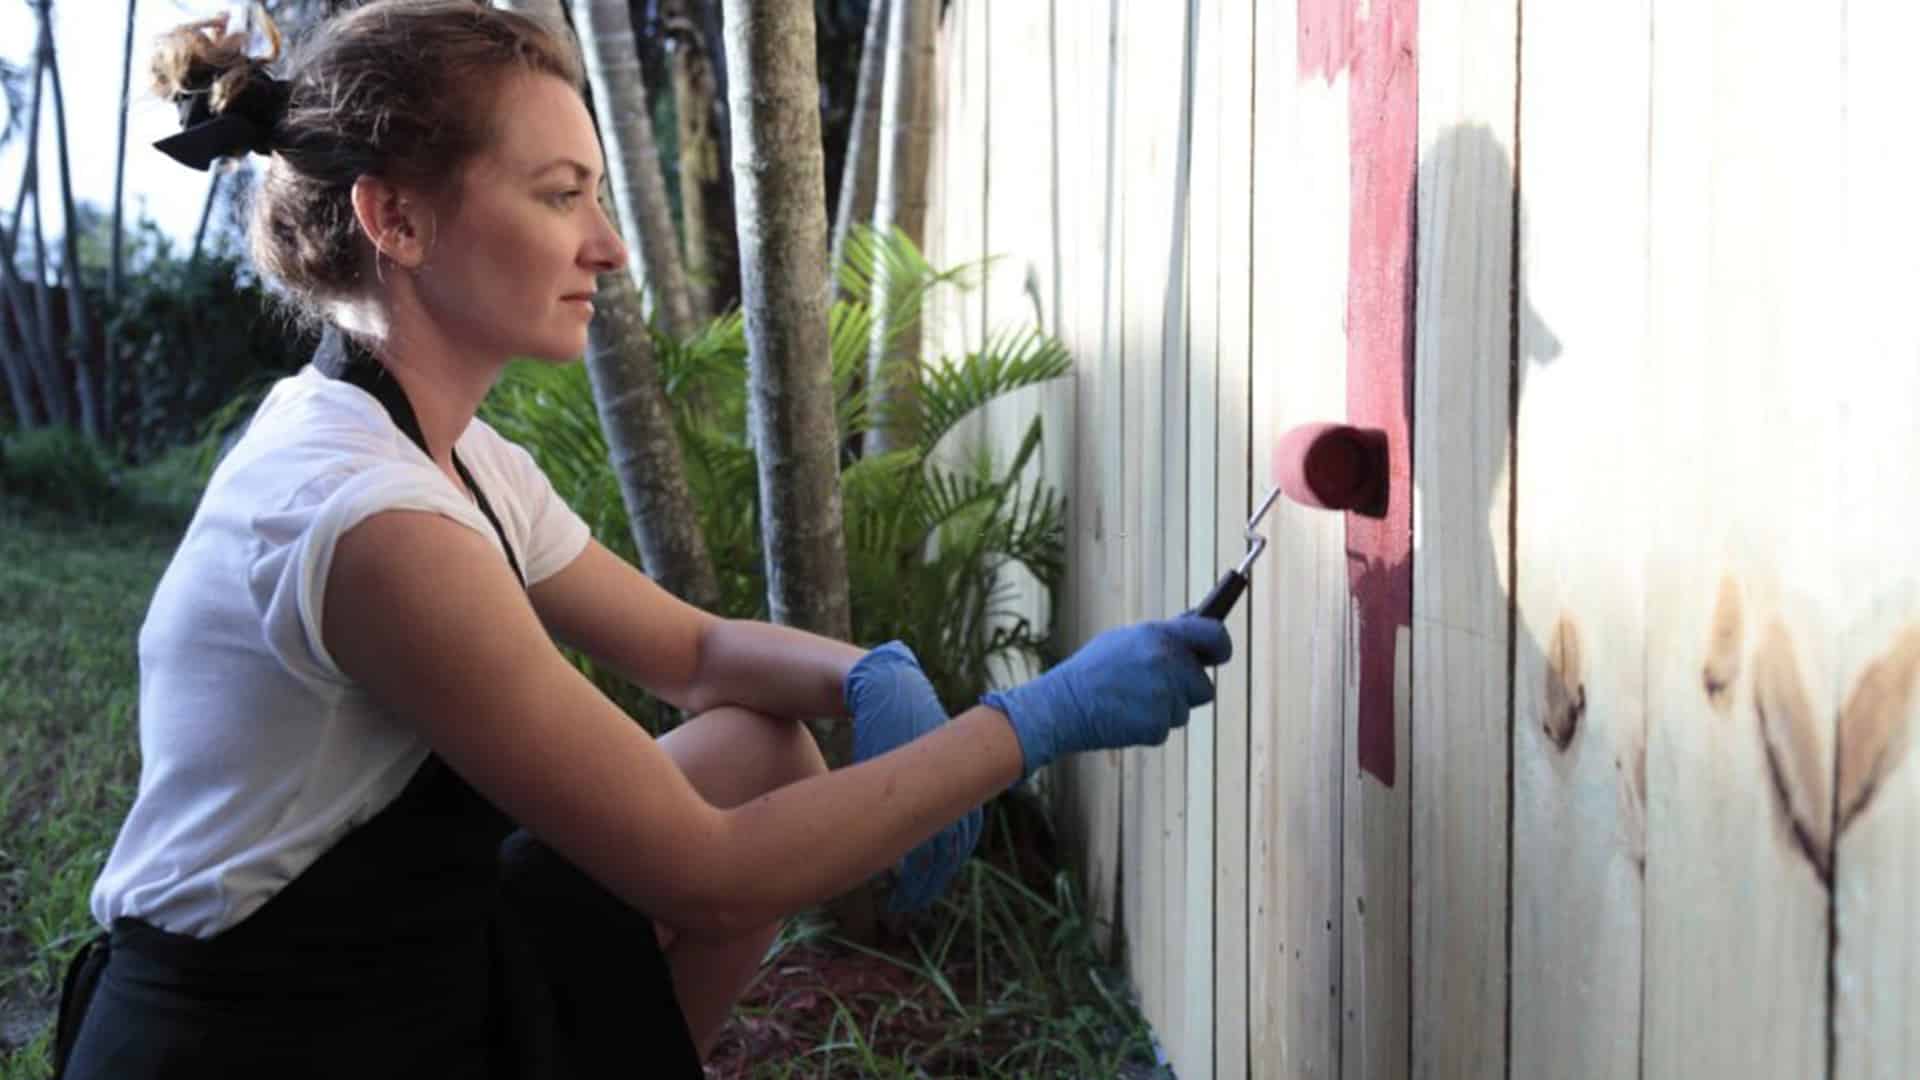
Step 6: Use the proper fence painting procedures
It’s crucial to know how your fence material will affect your paint job, whether you do it yourself or hire a professional. Brush or roller, you may DIY your wooden fence panels. To eliminate drips and additional paint around the edges, move the tool along the wood grain while painting.
Spraying metal fence panels is ideal. Small fences with features may benefit from a bristle brush. To avoid leakage, paint in one direction using a brush. If you’re spraying, spray downwind.
Hopefully after reading this article you will have a better understanding of the process and be able to complete the job successfully. Remember to use a proper primer before beginning, take special care when joining boards together, and make sure the paint goes on evenly. If you follow these simple tips, painting your own fence should not be too difficult. If you want your favorite color on your fences we can make them for you, if you still face any issues while DIY you can contact us anytime. Follow the link below for more information on hardware products. https://hendrahardware.com.au/